PostgreSQL also known as Postgres, is a free and open-source relational database management system (RDBMS) emphasizing extensibility and SQL compliance.
It is being used by many of the well-known companies all over the world. Here as on the headline described, I will be telling the windows based installation but for other systems there are also detailed explanations regarding it. In this case google is your friend 🙂
Back to our topic, as usual we need to install PostgreSQL using PostgreSQL installers on the EnterpriseDB. There you need to find the appropiate version. Mine is Windows 10 86-64 bit.

At the time of writing, the original version is 12.2
Install PostgreSQL
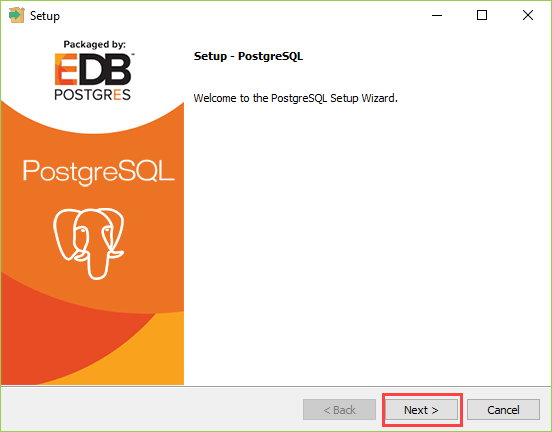
Step 1. By double clicking the installer file, an installation wizard will appear and guide you through multiple steps where you can choose different options that you would like to have in PostgreSQL

Step 2. Click the Next button
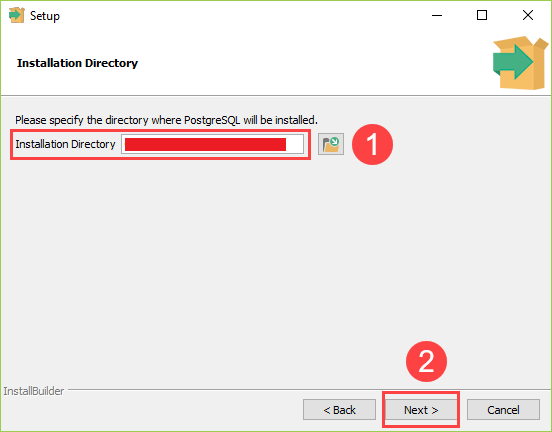
Step 3. Specify installation folder, choose your own or keep the default folder suggested by PostgreSQL installer and click the Next button
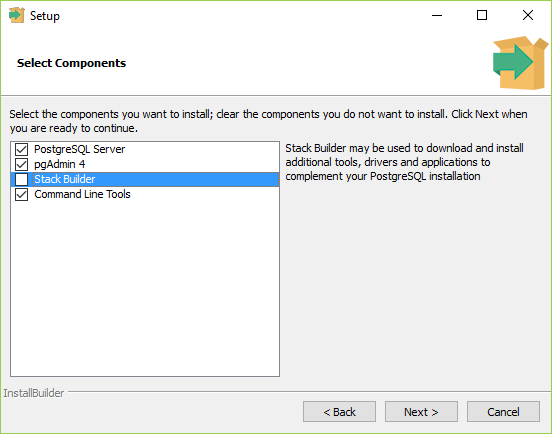
Step 4. Select components to install and click the Next button
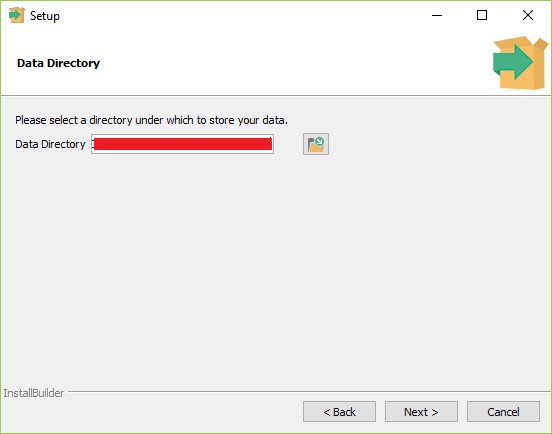
Step 5. Select the database directory to store the data. Just leave it by default or choose your own and click the Next button
Step 6. Enter the password for the database superuser (postgres)

Step 7. Enter the port for PostgreSQL. Make sure that no other applications are using this port. Leave it as default if you are unsure.

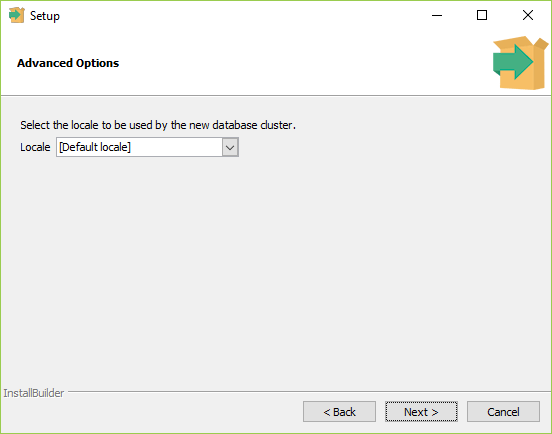
Step 8. Choose the default locale used by the database and click the Next button.
Step 9. Ready to install PostgreSQL. Click the Next button to start installing.
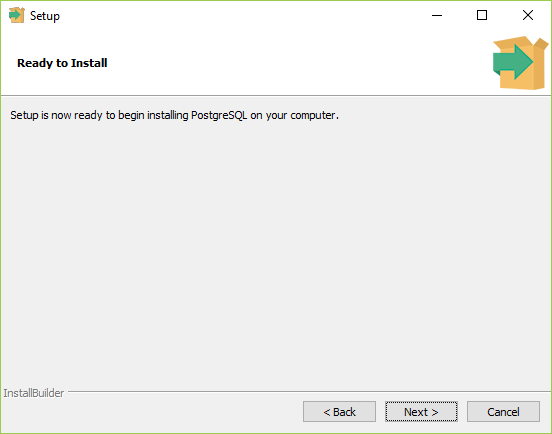
The installation may take a few minutes to complete.
Step 10. Click the Finish button to complete the PostgreSQL installation.

Verify the Installation
There are several ways to verify the installation. You can try to connect to the PostgreSQL database server from any client application e.g., psql and pgAdmin.
The quick way to verify the installation is through the psql program.
You can find it by searching “psql” from the windows menu. The psql window command line will display.
Second, enter all the necessary information such as the server, database, port, username, and password. To accept the default, you can press Enter. Note that you should provide the password that you entered during installing the PostgreSQL.
Third, issue the command SELECT version(); you will see the result as follows:
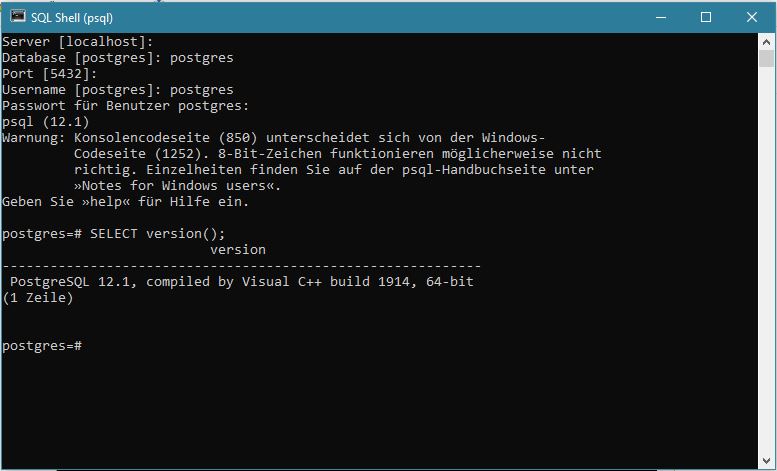
Congratulation! you’ve successfully installed PostgreSQL database server on your local system.
